Installing Windows 7/8/10 on EC2 (aka Running Legacy VMs on AWS EC2)

Anyone who has operated a service knows that the most difficult and frustrating thing is dealing with failures. The most infuriating of all is when hardware failures occur - from an operations perspective, it feels like there's no solution.

An engineer fixing a server
These days, many companies are moving to virtualization services like AWS to solve these inherent infrastructure problems and achieve more efficient scaling and management.
For more details, click here
The company I work for is also migrating legacy services to AWS. This time, there was a discussion about moving an important internal system with complex scaling and hardware issues to AWS infrastructure, and since I was handling the AWS migration to some extent, I took on the project.
After organizing the team's requirements, they were as follows:
-
The infrastructure must be configured so that virtualization equipment can scale flexibly at any time.
-
The system has high IOPS, so hardware performance must be maintained to a certain level.
-
At minimum, it cannot be installed on Windows Server series; it must be installed on Windows 7.
When I first heard these requirements, I wasn't worried about requirements 1-2 since AWS already supports them well, but requirement 3 was the biggest problem.
AWS Doesn't Officially Support Client OS
AWS currently only provides official images for Server-class operating systems.
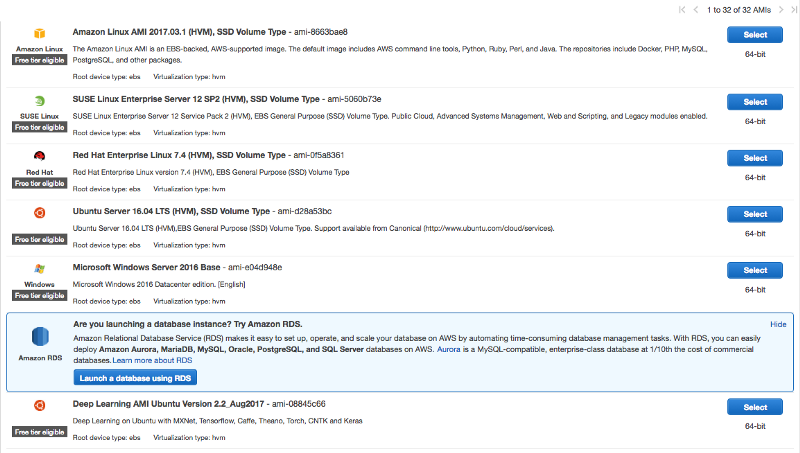
AWS only supports server editions T_T
In other words, since client operating systems like Windows 7/8/10 don't have official images, installing them on EC2 is difficult in reality.
Just when I was about to give up on the AWS migration, I found an interesting article in the official AWS documentation.
[
https://docs.aws.amazon.com/vm-import/latest/userguide/vmimport-image-import.html Importing a VM as an Image Using VM Import/Export docs.aws.amazon.com
](https://docs.aws.amazon.com/vm-import/latest/userguide/vmimport-image-import.html)
AWS supports converting existing VMs into AMI (Amazon Machine Image).

Phew.. AWS hasn't abandoned us yet
Getting Started
Let's set up a base image using a virtualization program on your computer. There are many virtualization programs, but I'll use VirtualBox for this setup.
VM Setup and Image Configuration
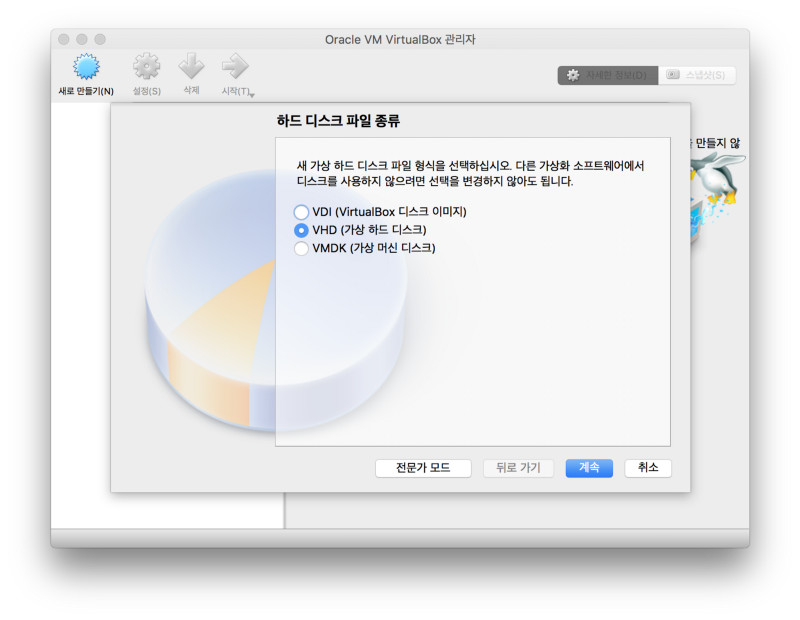
Configure all the settings according to your preferences, but make sure to select VHD (Virtual Hard Disk) when creating the disk. (Since everything will be reconfigured when moving to EC2 anyway, you don't need to overthink this part)
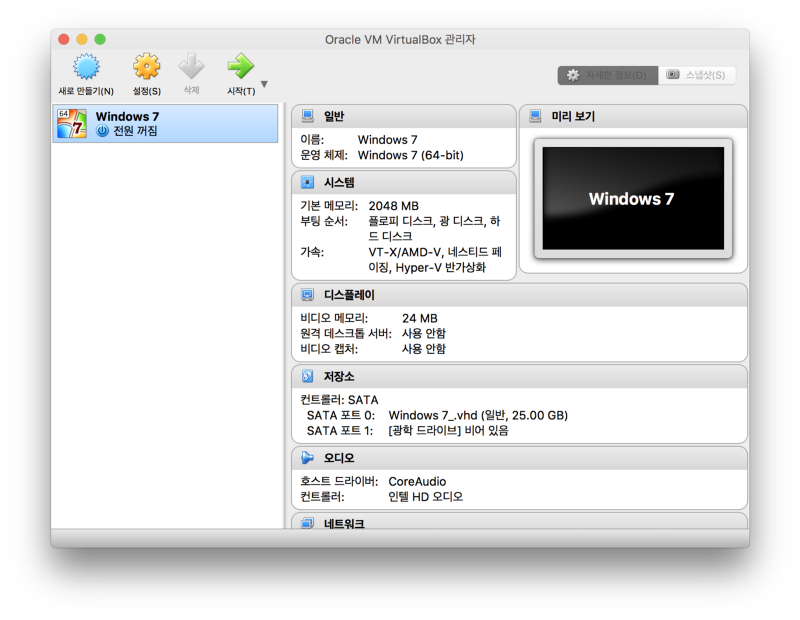
The basic setup is now complete. Let's proceed with installing Windows.
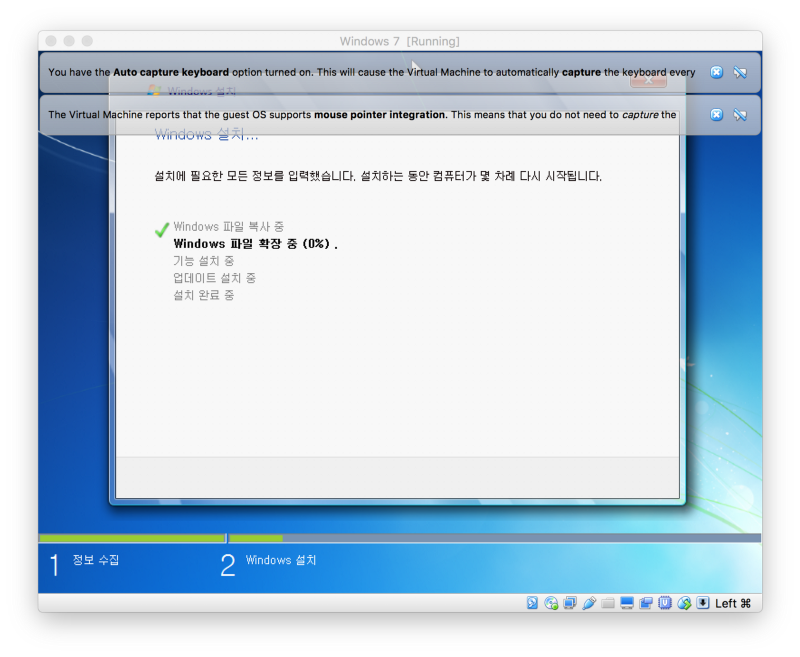
Take this opportunity to enjoy a cup of coffee and quietly wait for the installation to complete.
Finally, the long-awaited OS installation is complete. One thing to note here - while it's optional, I recommend not installing VirtualBox Tools.
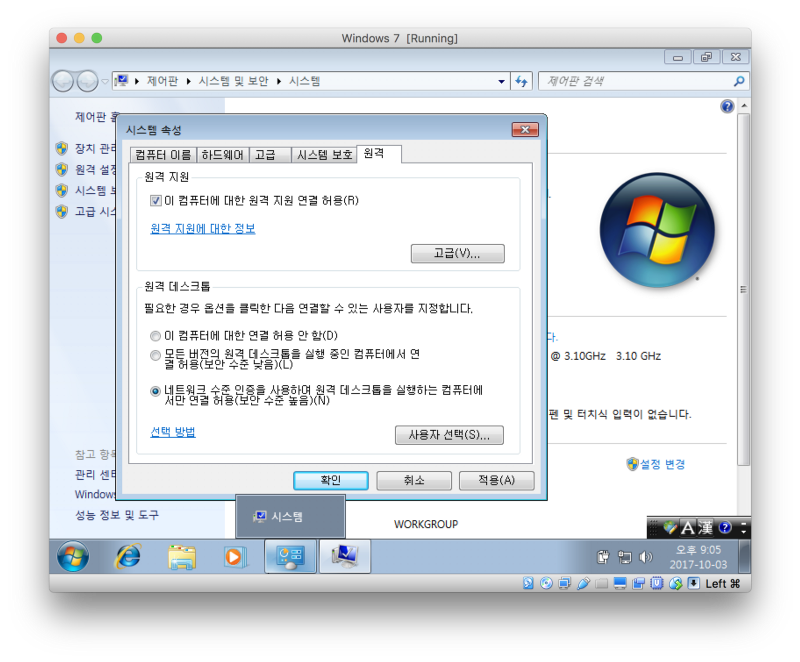
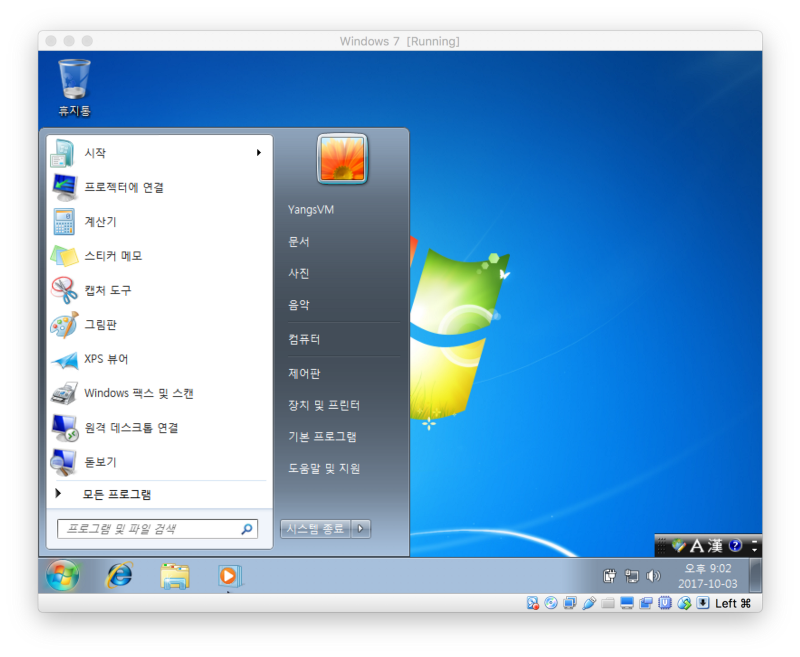
Enable Remote Desktop in settings and disable sleep mode, and the image setup is complete.
Uploading the VM Image
Once the image is ready, let's upload the disk image from the VBox folder to Amazon S3 Storage.
First, create a bucket to upload the VM image. Important note: When selecting the region, make sure to set it to the region where you want to create the AMI image.
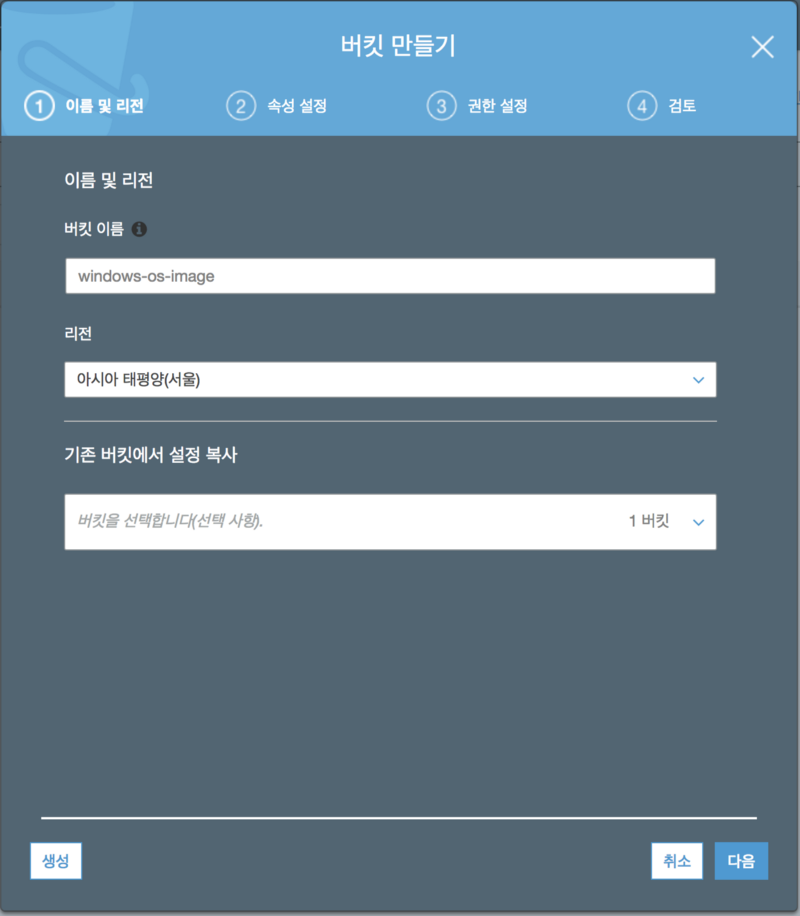
In my case, I created it as "windows-os-image".
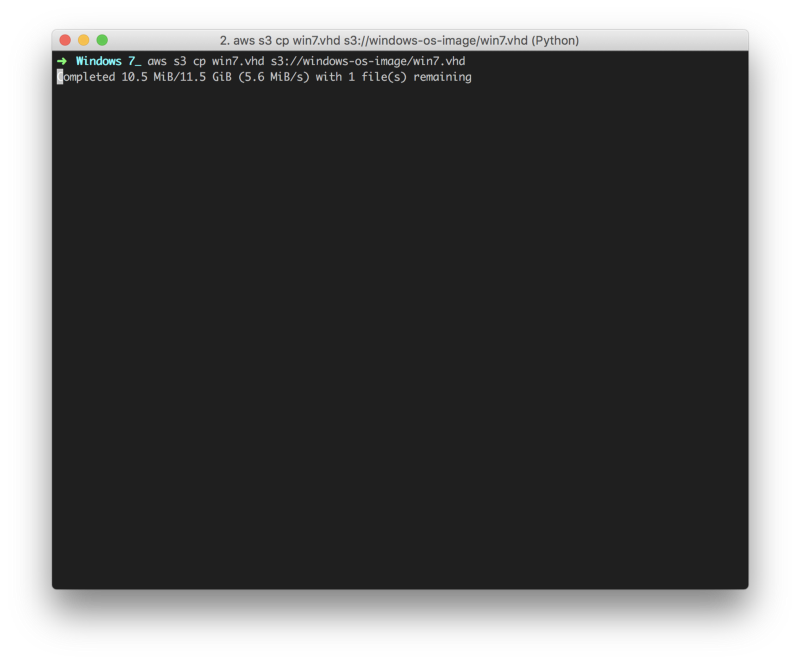
Now we need to upload the VHD image to S3. There are several methods, but I'll use the AWS CLI Tool.
Setting Up VM IMPORT Permissions
While the upload is in progress, let's configure the permissions needed to create the AMI image.
Create a file called policy.json and add the following JSON:
{
   "Version": "2012-10-17",
   "Statement": [
      {
         "Effect": "Allow",
         "Principal": { "Service": "vmie.amazonaws.com" },
         "Action": "sts:AssumeRole",
         "Condition": {
            "StringEquals":{
               "sts:Externalid": "vmimport"
            }
         }
      }
   ]
}
Then use AWS CLI to create a policy for VM import/export on AWS.
aws iam create-role --role-name vmimport --assume-role-policy-document file://path
Now let's create permissions between S3 and the EC2 system.
First, create the following policy JSON. I named it policy_import.json.
{
    "Version": "2012-10-17",
    "Statement": [
        {
            "Effect": "Allow",
            "Action": [
                "s3:ListBucket",
                "s3:GetBucketLocation"
            ],
            "Resource": [
                "arn:aws:s3:::windows-os-image"
            ]
        },
        {
            "Effect": "Allow",
            "Action": [
                "s3:GetObject"
            ],
            "Resource": [
                "arn:aws:s3:::windows-os-image/*"
            ]
        },
        {
            "Effect": "Allow",
            "Action": [
                "ec2:ModifySnapshotAttribute",
                "ec2:CopySnapshot",
                "ec2:RegisterImage",
                "ec2:Describe*"
            ],
            "Resource": "*"
        }
    ]
}
Let's link this rule file with the vmimport policy we created earlier.
aws iam put-role-policy --role-name vmimport --policy-name vmimport --policy-document file://path
Now we're ready to import the VM.
Creating the AMI Image
If you've successfully completed all the steps I mentioned above, you're all set to import your locally created VM to EC2.
Now let's tell AWS to "Create a VM based on the image I made!"
First, create a JSON file defining the command.
[
    {
        "Description": "Windows 7 Public Image ",
        "Format": "vhd",
        "UserBucket": {
            "S3Bucket": "windows-os-image",
            "S3Key": "win7.vhd"
        }
    }
]
Let's issue the command to the AWS server via AWS CLI.
aws ec2 import-image --license-type BYOL --disk-containers file://filepath
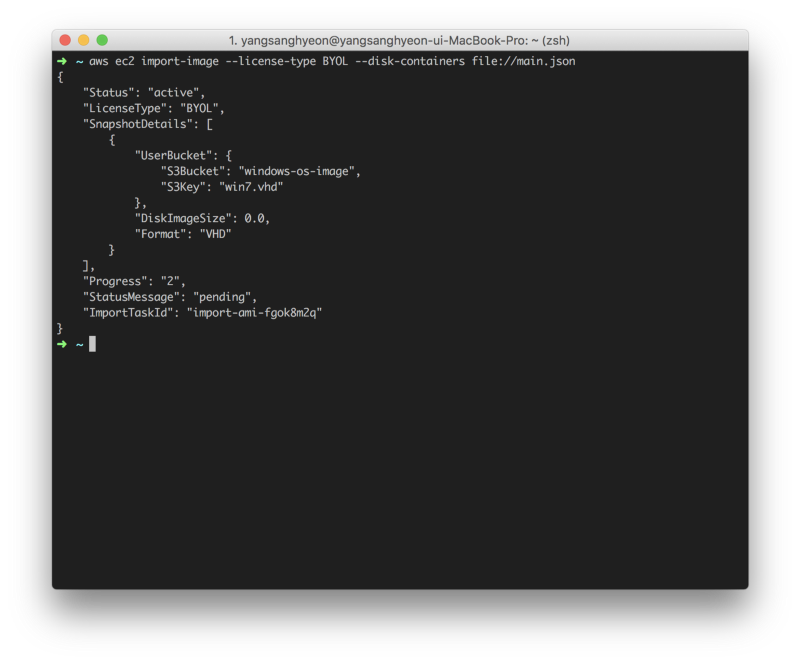
Once AWS returns information about the task, AWS will automatically create an AMI from your VM image.
Now you just need to wait for it to complete, and then you can run Windows 7 on EC2.
Checking VM Import Task Status
I said you just need to wait, but you don't know how long to wait, and it feels like your package is stuck at the distribution center. Let's find out if the task we submitted is complete.
Looking at the JSON returned after the import:
{
    "Status": "active",
    "LicenseType": "BYOL",
    "SnapshotDetails": [
        {
            "UserBucket": {
                "S3Bucket": "windows-os-image",
                "S3Key": "win7.vhd"
            },
            "DiskImageSize": 0.0,
            "Format": "VHD"
        }
    ],
    "Progress": "2",
    "StatusMessage": "pending",
    "ImportTaskId": "import-ami-fgok8m2q"
}
There's a key called "ImportTaskId". This key is unique to the task, and you can check the status using this key.
Run the following command in AWS CLI:
aws ec2 describe-import-image-tasks --import-task-ids [ImportTaskId from above]
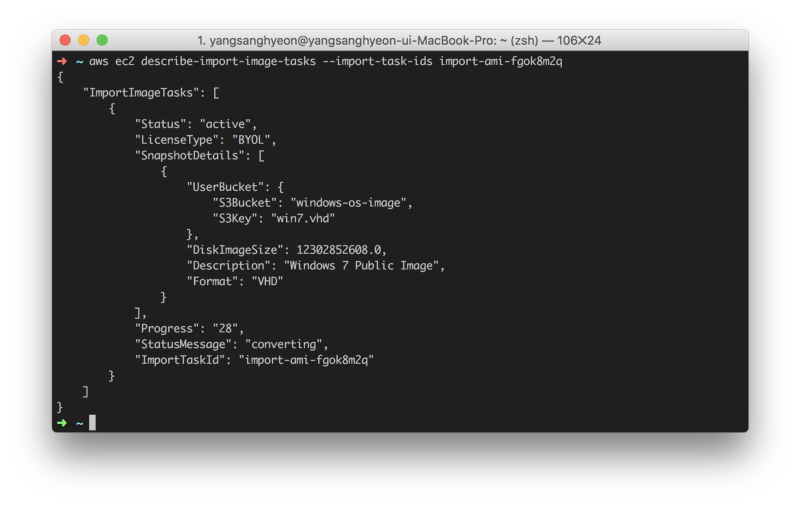
My task isn't complete yet.
From my testing before writing this post, this process takes about 30-40 minutes. Just pray that no errors occur and wait patiently.
Starting the VM
Finally, all the work is complete. Let's create an EC2 VM using the image we created.
Select Launch Instance as you normally would when creating a VM, and select "My AMIs" from the left submenu.
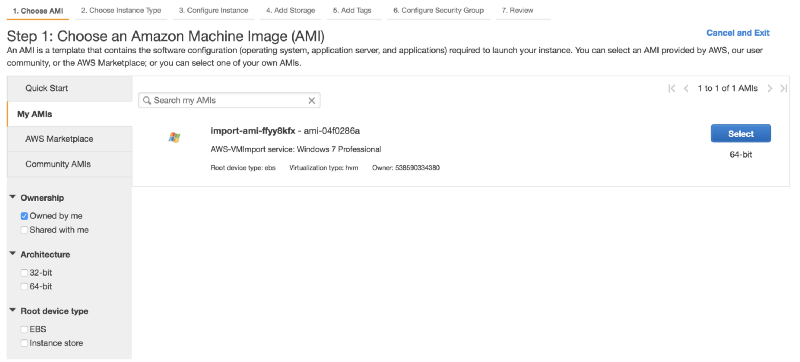
There's the AMI image we worked hard to create. Select that image.
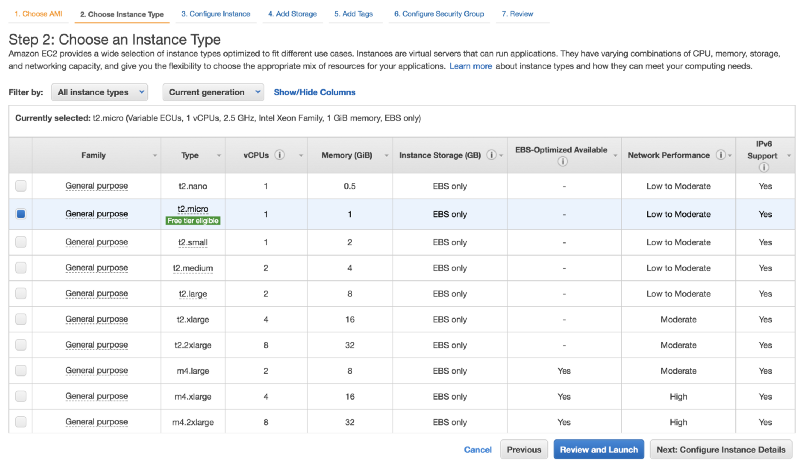
Then select an instance type that fits your budget and click Review & Launch.

Once the instance you just created changes to Running status, connect via Remote Desktop.
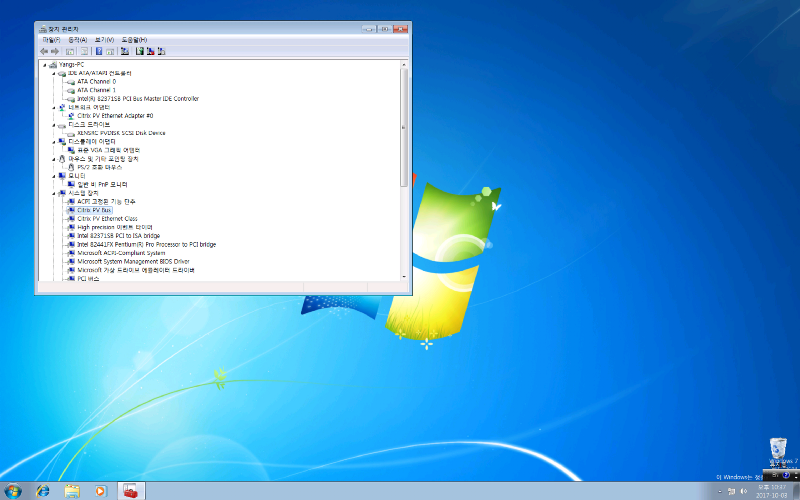
Ta-da! The installation is finally complete.
Conclusion
This method is possible because AWS's virtualization system runs on the Xen system.
Migrating legacy VMs to AWS can be done exactly as I described, so if you want to continue operating legacy VMs while reducing hardware management and need Auto Scaling for service operation, I recommend this method...
However, if you don't specifically need Windows Client OS, I recommend using the optimized Server OS images from AWS.
This is my first blog post, so it might be a bit disorganized, but thank you for reading until the end.
Appendix: Amazon WorkSpaces
By the way, AWS actually provides a VDI-like service called Amazon WorkSpaces. If you simply need Windows, Amazon WorkSpaces might be more suitable.